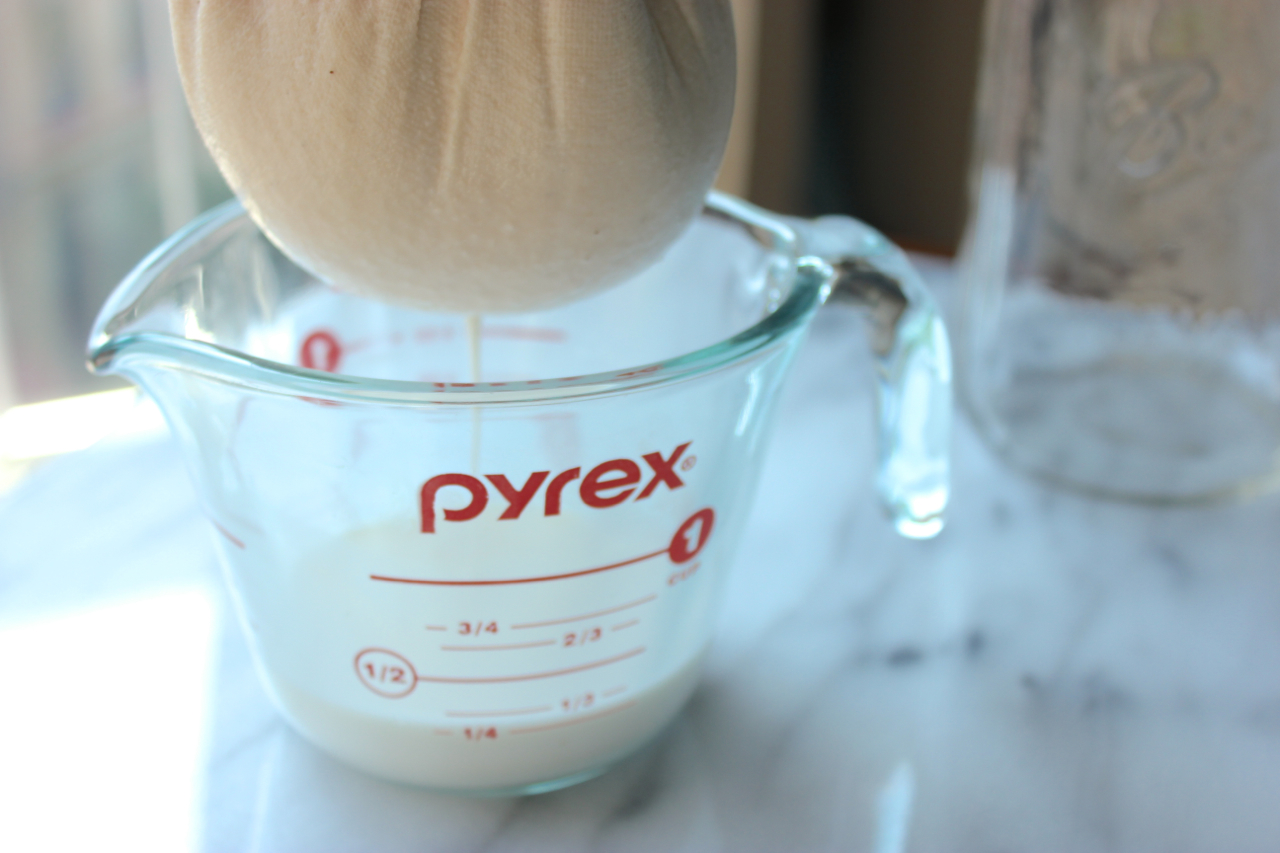
Homemade Almond Milk
Discovering the existence of nut milks last year was a game-changer. I had never warmed up to soy milk very much, so having a dairy-free milk alternative was awesome. I remember when I stumbled upon Organic Avenue's Cashew Hemp Mylk for the first time. Two things popped into my head: 1. Who puts cashews in milk 2. Why on earth is this milk spelled mylk? Naturally, I had to try it. This set off my search for all different type of nut milks.
After experimenting with nut milks for awhile, I learned that I like unsweetened almond milks over their sweetened counterparts for a few reasons- first, the obvious, no added sugars and also consequently half the calories. Secondly, I typically use my almond milk in things like smoothies and oatmeal as an additive, rather than drinking it straight up, so I don't miss the sweetness.
I have yet to find store-bought almond milks that don't have additives like carrageenan (can cause GI issues) and lecithen- these ingredients are used to prolong shelf life but I prefer to avoid it if I can. Normally for store-bought almond milk, I like Califia Farm's Unsweetened Almond Milk, as it has less than 2% of those ingredients, as opposed to some of the other popular store brands that hold much higher ratios.
Then, a few months ago I decided to finally try making my own almond milk at home. My best friend, who gave me beautiful Anthropologie bowls for my (direct quote) "hemp seed bowls and your other weird stuff," laughed and told me I was officially turning into a hippie. Making my own almond milk resulted in a clear cut pro & con list:
Pros: DELICIOUS. The consistency is beyond any store-bought version, no additives, and did I mention delicious? I will drink this by itself and put it in my coffee, whereas with store bought I personally think it can add an artificial nut-like taste to coffee drinks.
Cons: It's expensive to keep doing consistently, and the shelf life is shorter so you should stick to smaller batches you can finish off in a matter of 3-4 days.
Homemade Almond Milk
*recipe makes 3 cups
Ingredients
1 to 1.5 cup/s Raw Almonds
3 cups of Water
*If you want to make a sweetened version, I recommend using a date or two.
*optional for taste: Pinch of Himalayan Pink Salt and/or ground cinnamon
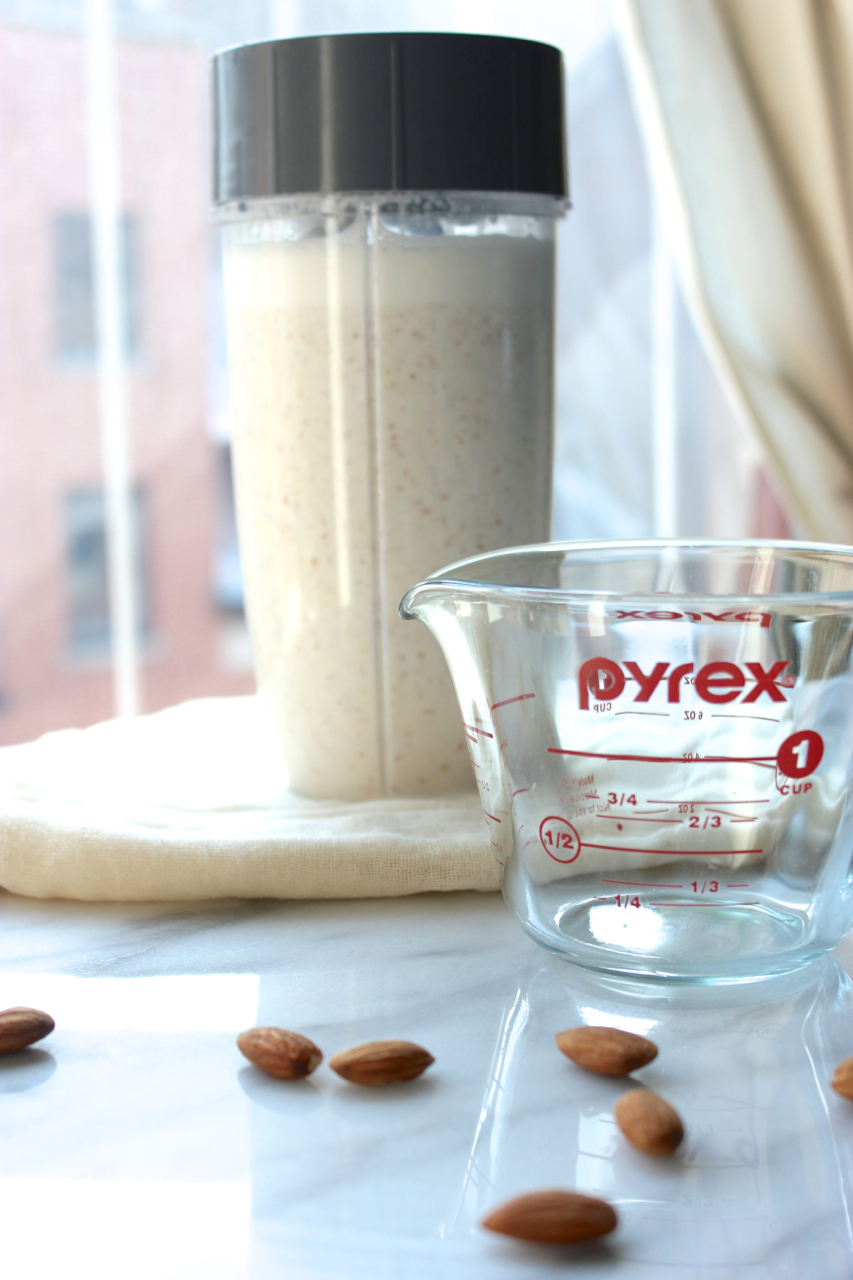
SPECIAL TOOLS NEEDED: Blender, Cheesecloth or Nut Milk Bag
That magic bullet is a GOD.
Recipe
1. Place almonds in a bowl, fill with water until submerged. Cover with plastic wrap and leave to soak overnight in room temperature.
*if you want the sweetened version, place a few dates in here too, and keep it with the almonds throughout the recipe.
2. Drain and lightly rinse almonds. Place in a blender with the water and pulverize until relatively smooth (~30 seconds).
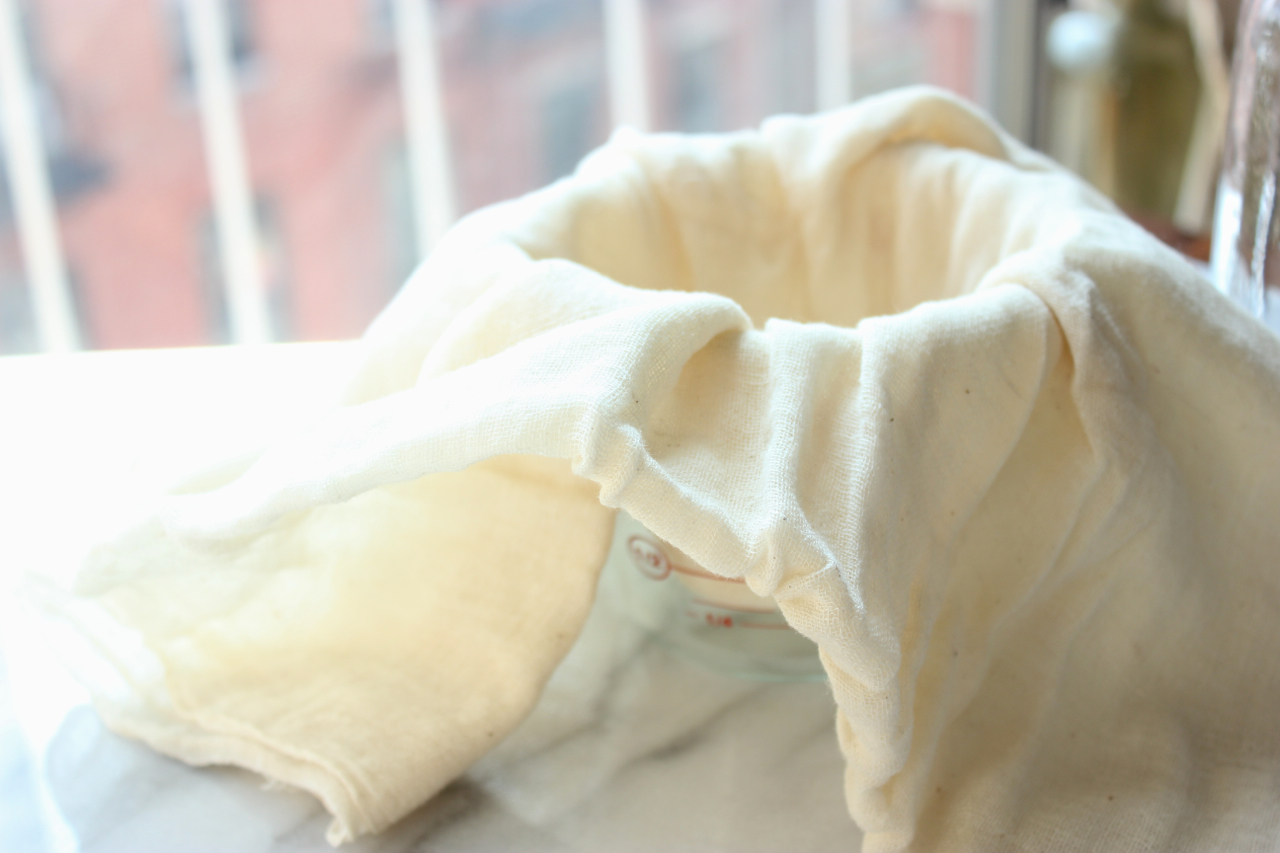
3. In a small bowl or measuring cup, drape a double-layered folded cheesecloth into the bowl/cup. If you're using a nutbag, place open nutbag in a bowl.
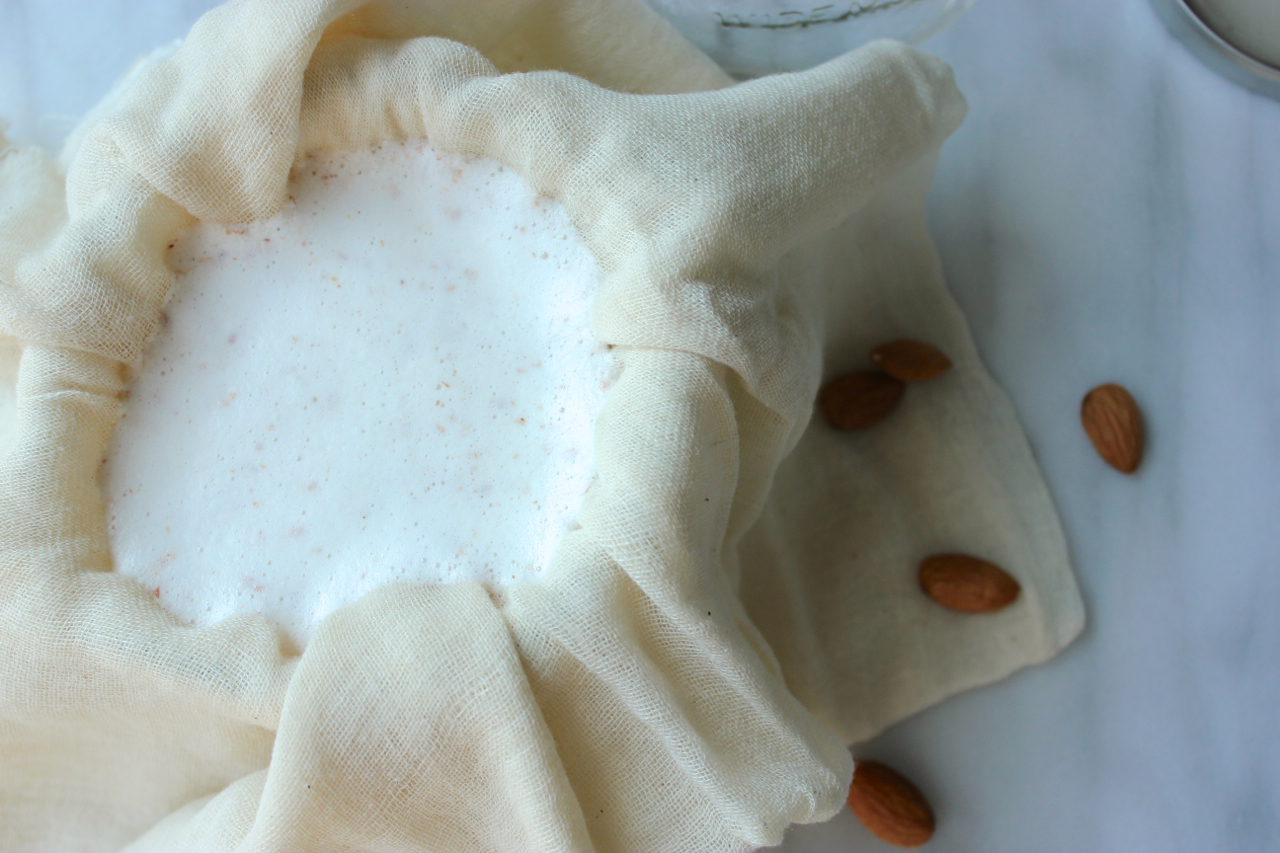
4. Pour blended almond mixture into the cheesecloth-covered bowl/cup or nutbag.
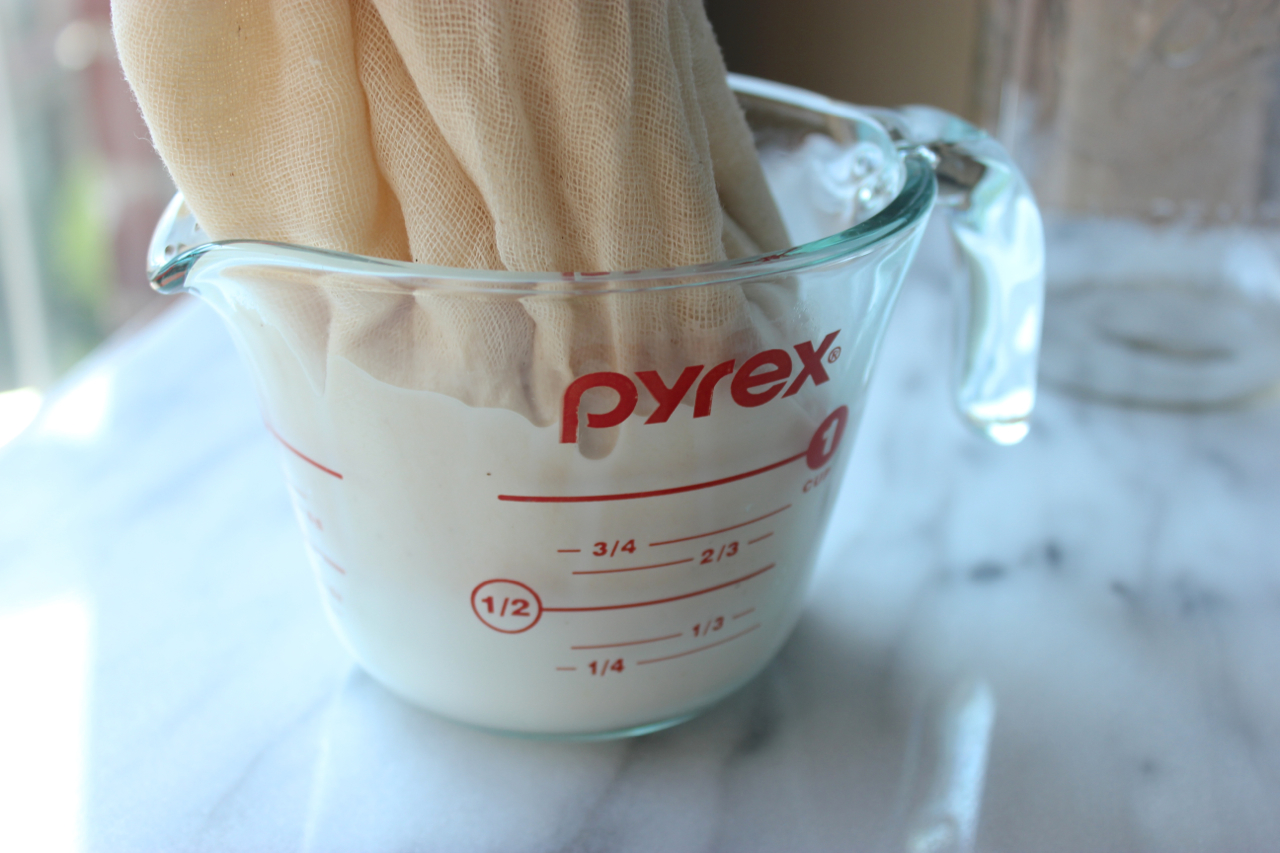
*I prefer using a cheesecloth because of the better consistency I tend to get (creamier), and I use a measuring cup- therefore, I repeat steps 4&5 two-three times because I can't fit the entire mixture in there at once.
5. If using cheesecloth- pour only a manageable portion in at a time, and gently wring the cheesecloth to get every bit of that milk out.
If using a nutbag, you can let it hang over the bowl by tying it somewhere above, or you can also gently wring it- be careful with wringing the nutbag though, as it tends to get almond chunks in the milk if you squeeze too forcefully.
6. Pour almond milk into an airtight container (add salt/spice here if you want to) and store for up to 3-4 days. I find mason jars to be best for this- make sure to shake it up before serving as contents do separate when still for awhile.
*7. What to do with the nut meat: You could chuck it, or my vote is to make it into almond meal. I've found that when you make it into almond meal, its not the same texture as store-bought almond meal so it's not the best baking substitute, but it makes for wonderful smoothie or yogurt add-ins, or works a breadcrumb substitute. To make:
Make sure nut meat is as dry as possible. Then spread it out as much as possible on a baking sheet, and bake in an oven for about 30mins on a very low temp like 175º/200ºF. Store in an airtight container.
Now that's what I call a tall glass of milk.


